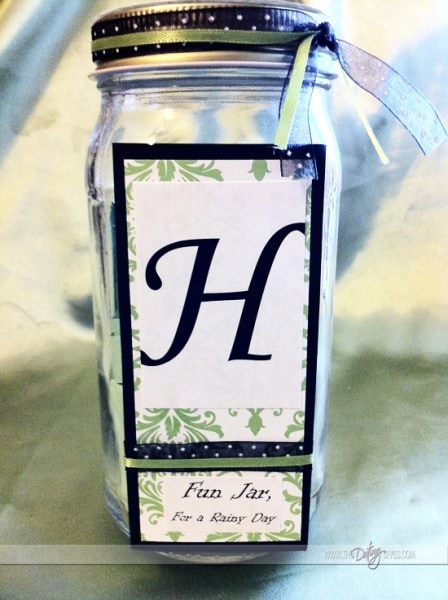
I really wanted to do something for my hubby that is cheap, yet creative – and perfect for Christmas. I kind of cheated, because I stole this idea from something he gave me in our first year of marriage – but I just wanted to spice it up a bit.
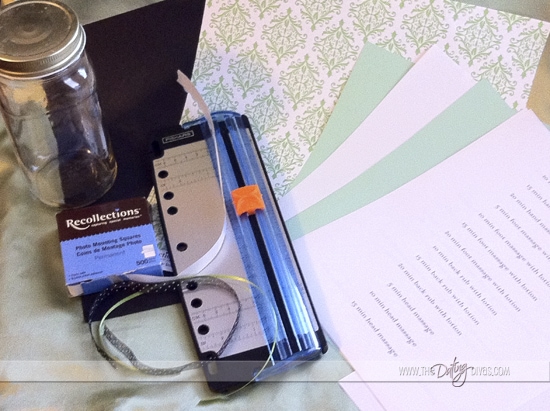
Disclaimer: This post contains affiliate links. To learn more about ’em, click here. When we were first married, he decided to make me something he called a “Bored and Frustrated Jar”. He wanted us to have something to do together if we were bored, but also if we were frustrated with each other. Every marriage has days that are a bit frustrating and he thought this jar would help us get over those days faster, instead of letting it fester. I totally agree! So, he filled the jar with strips of paper that listed things we could do together. He left quite a few blank so I could write some activities I would want to do too. It was really cute and I was super excited about it. For MY activity jar – I just wanted to “womanize” his jar up a bit – you know make it visually appealing AND full of activities I know he would LOVE. I decided to call mine “Fun Jar For a Rainy Day”. You might be wondering what I meant by that. To me, it has a double meaning – the activities could be used for a day when it was literally raining outside, OR for a ‘rainy’ day in your marriage (like days you are just a bit frustrated with each other). These are the items you will need:
Mason jar (any size you want) Scrapbook paper (I did 2 different colors so I could layer them) Ribbon (I chose a thick one and a thin one) Glue or 2 sided tape Paper cutter or scissors Paper (I did colored and white – to alternate with my strips of paper with the activities)
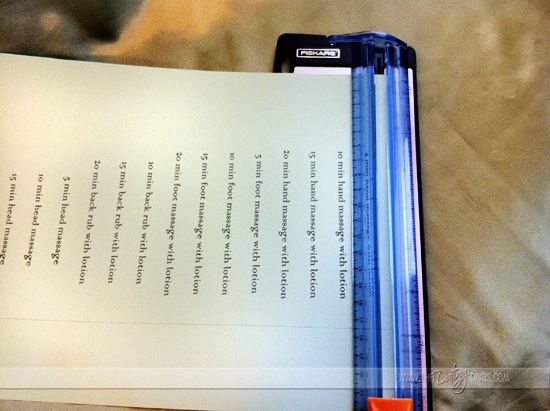
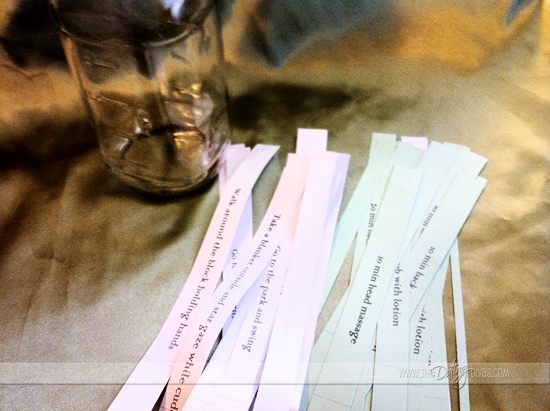
To start you can download my list of activities, and print them out. Again, I alternated between colored and white paper. Next, cut out each activity into strips using your paper cutter or scissors. I left the last page with lots of room to have blank strips for your hubby to add his own ideas to the jar.
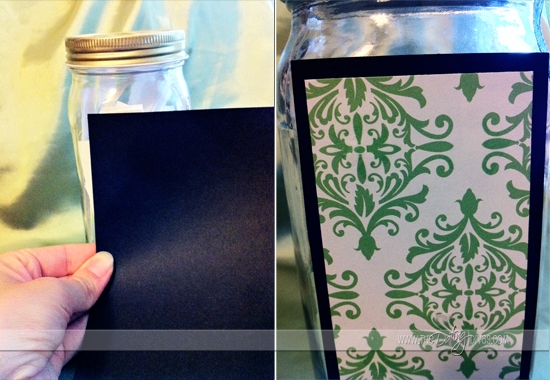
Fold each strip and put them in the jar. Now you want to measure your paper that you are using for the border against the jar and cut it into rectangle. Then cut your top paper to fit inside the border. Attach the 2 pieces of paper with 2-sided tape or glue. If you need some great scrapbook 2 sided adhesives, this one is great and cheap! Gotta love it.
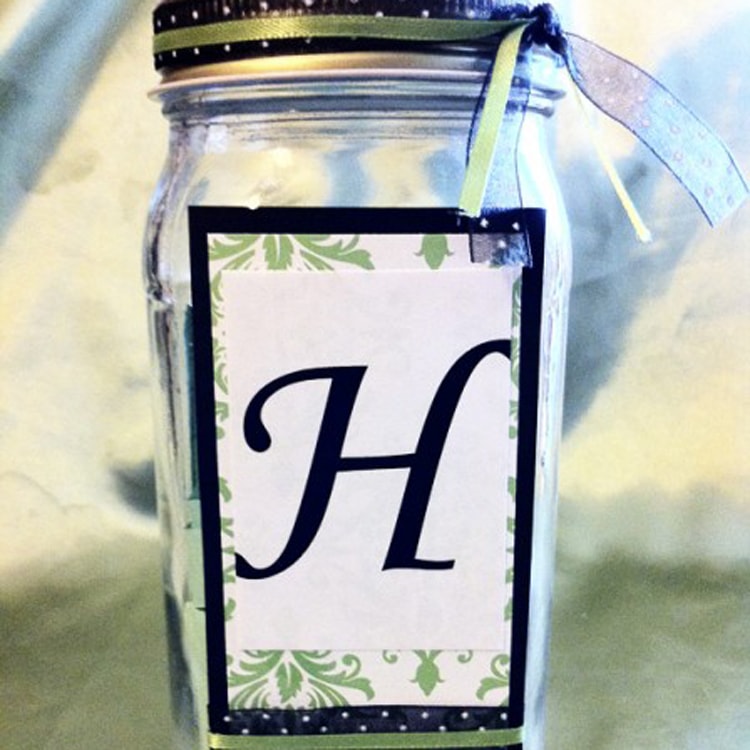
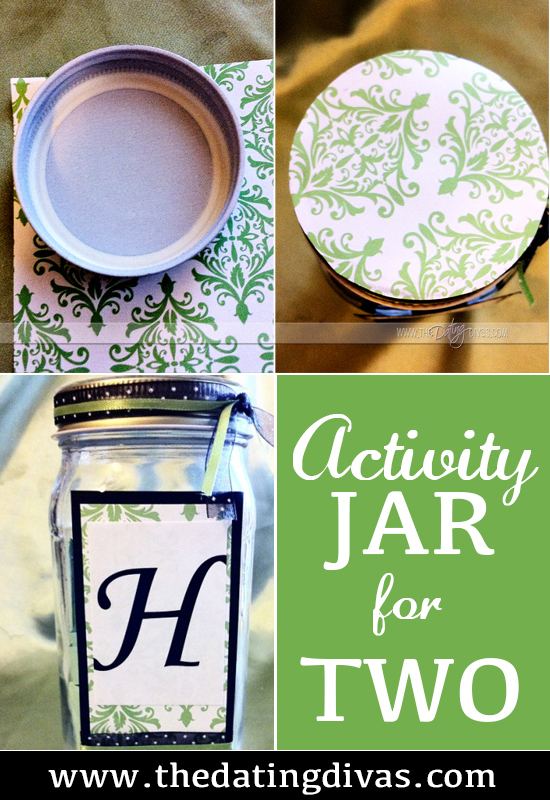
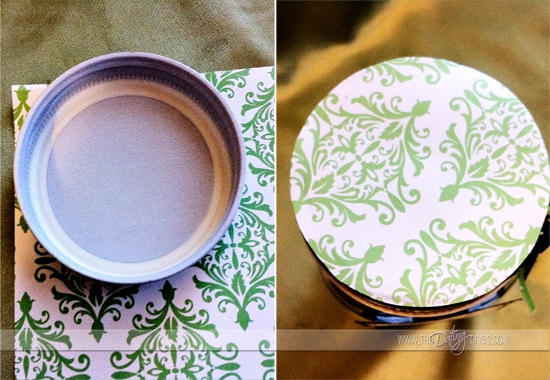
I made a paper with the initial of our last name and cut that and attached it to my piece of paper. I made it big enough to go about half way down the paper you just got done with. At the bottom I attached the title of the jar “Fun Jar On a Rainy Day”. In between I layered 2 different sizes of ribbon. If you are totally confused, just look at the picture at the end of the post. 🙂 Next, I took the lid and placed it on my colored scrapbook paper. I traced the circle, cut it out, then attached it to the lid with my 2-sided tape (can also use glue).
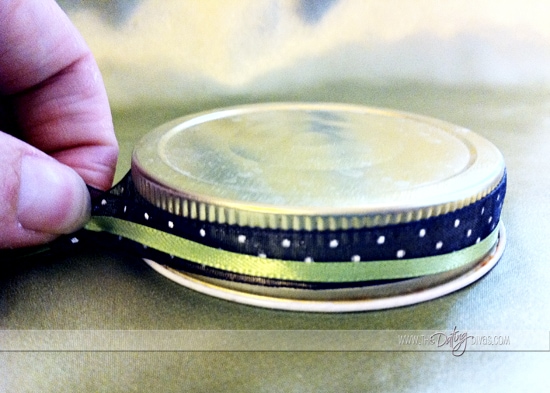
Last, I took my ribbon and overlapped it again and then wrapped it around the lid. You can decide how long you want it and how you want your ribbon to be tied.
Now, put this on top of your jar and you are finished! This will be a perfect Christmas gift for your spouse and you gotta love that you will benefit from it too! What’s even better is that you can even use this for date nights when you don’t have anything else planned! If you want another idea as well, Corie did a great conversation jar in a recent date of hers. You can find it HERE. Enjoy!
